当セクションではAngular2のコンポーネントについて説明します。Angular2はコンポーネント指向なので、いつくかのコンポーネントを作成し、そららのコンポーネントを組み合わせてアプリケーションを構築する事になります。複数のコンポーネントを組み合わせて1つのコンポーネントを構成することも可能です。
当サイトの最終目標である担当者マスタメンテナンスのアプリケーションも担当者マスタ一覧を表示するコンポーネントと担当者マスタの項目入力を行うコンポーネントで構成されています。担当者マスタ一覧を表示するコンポーネントは、さらに一覧表示するテーブルコンポーネント、ページ制御を行うコンポーネント、アプリケーション層と通信するHPPコンポーネント等のいつかのコンポーネントで構成されています。
それでは、説明の前に「ng new」コマンドを実行してプロジェクトファイルを作成します。当セクションでは、作業ディレクトリの「C:\ng2test」にsample4のプロジェクトを作成します。その後、「ng serve」コマンドで実行テストを行って下さい。コマンドの説明は『Angular-cliのngコマンドの説明』で確認して下さい。
|
1 2 3 4 5 6 7 8 9 |
C:¥ng2test>ng new sample4 C:¥ng2test>cd sample4 C:¥ng2test¥sample4> C:¥ng2test¥sample4>ng serve |

1.コンポーネントの作成
まずは新規のコンポーネントを作成して、その構成について確認します。「ng generate component」コマンドで新規コンポーネントを作成します。angular-cliのngコマンドについては『Angular-cliのngコマンドの説明』を参照して下さい。
|
1 2 3 4 5 6 7 |
C:¥ng2test¥sample4>cd src¥app C:¥ng2test¥sample4¥src¥app>cd sample4 C:¥ng2test¥sample4¥src¥app>ng generate component test |
上記コマンドでTestComponentという名前のコンポーネントが作成されました。コンポーネント名はtest.compont.tsファイルのクラス名で定義されます。/src/app/testのフォルダが作成され、そのフォルダ中に4つのファイルが新規作成されます。また、/src/app/app.module.tsにTestComponentのimport文が自動で追加され、@NgModuleのデコレータのdeclarationsも同時に追加定義されます。
(変更されたファイル)
(1)src/app/app.module.ts
|
1 2 3 4 5 6 7 8 9 10 11 12 13 14 15 16 17 18 19 20 21 22 |
import { BrowserModule } from '@angular/platform-browser'; import { NgModule } from '@angular/core'; import { FormsModule } from '@angular/forms'; import { HttpModule } from '@angular/http'; import { AppComponent } from './app.component'; import { TestComponent } from './test/test.component'; ※追加された行 @NgModule({ declarations: [ AppComponent, TestComponent ※追加された行 ], imports: [ BrowserModule, FormsModule, HttpModule ], providers: [], bootstrap: [AppComponent] }) export class AppModule { } |
(新規追加されたファイル)
コンポーネントは、ts(TypeScript)ファイル、HTMLファイル、CSSファイルで1つのコンポーネントを構成します。
(1)src/app/test/test.componet.ts
TestComponentのロジック部を記述するTypeScriptファイルです。TestComponentクラス定義が行われ、@Componentデコレータでセレクタ定義、HTMLとCSSの定義付けを行っています。
|
1 2 3 4 5 6 7 8 9 10 11 12 |
import { Component, OnInit } from '@angular/core'; @Component({ selector: 'app-test', templateUrl: './test.component.html', styleUrls: ['./test.component.css'] }) export class TestComponent implements OnInit { constructor() { } ngOnInit() { } } |
(2)src/app/test/test.componet.html
TestComponentのビュー部を示すHTMLファイルです。test.componet.ts内の@Componentデコレータで関連付けを定義しています。
|
1 2 3 |
<p> test works! </p> |
(3)src/app/test/test.componet.css
TestComponentのビュー部を修飾するCSSファイルです。test.componet.ts内の@Componentデコレータで関連付けを定義しています。
|
1 |
(4)src/app/test/test.componet.spec.ts
テスト用スクリプトファイルです。
|
1 2 3 4 5 6 7 8 9 10 11 12 13 14 15 16 17 18 19 20 21 22 23 24 25 26 27 28 |
/* tslint:disable:no-unused-variable */ import { async, ComponentFixture, TestBed } from '@angular/core/testing'; import { By } from '@angular/platform-browser'; import { DebugElement } from '@angular/core'; import { TestComponent } from './test.component'; describe('TestComponent', () => { let component: TestComponent; let fixture: ComponentFixture<TestComponent>; beforeEach(async(() => { TestBed.configureTestingModule({ declarations: [ TestComponent ] }) .compileComponents(); })); beforeEach(() => { fixture = TestBed.createComponent(TestComponent); component = fixture.componentInstance; fixture.detectChanges(); }); it('should create', () => { expect(component).toBeTruthy(); }); }); |
2.コンポーネントの呼び出し
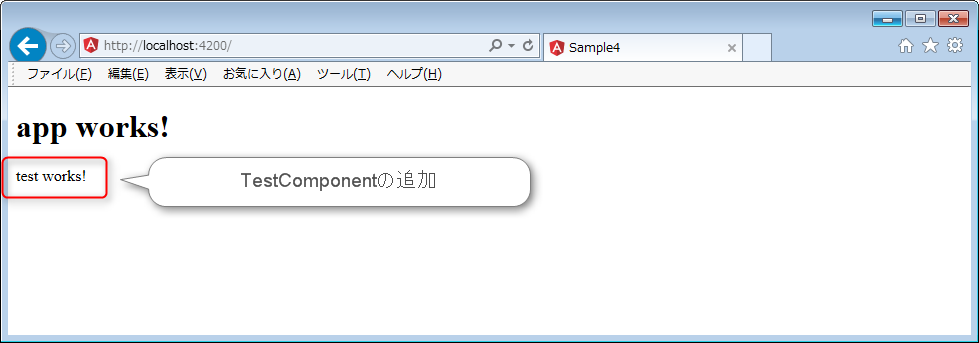
作成したTestComponentをAppComponentから呼び出してみます。app.component.htmlにtestComponentの「app-test」セレクタを記述します。TestComponentのビュー部(HTML)に記述された『test works』が表示されます。
|
1 2 3 4 5 6 |
<h1> {{title}} </h1> <app-test></app-test> ※追加したコード |
(変更後画面)
3.コンポーネントの修正
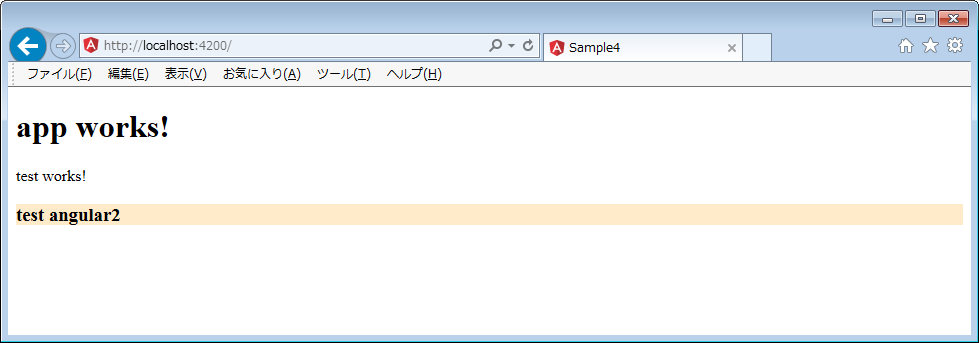
testCompnetのビュー部のHTMLファイル「test.component.html」とCSSファイル「test.component.css」をそれぞれ変更してみます。「test angular2」の文字が追加され背景色が変わる事が確認できます。
|
1 2 3 4 |
<p> test works! </p> <h3>test angular2</h3> ※追加したコード |
|
1 |
h3 {background:#ffeac9;} ※追加したコード |
(変更後画面)


 お問い合わせ