Angular2の開発でbootstrapを使用するにはng2-bootsrapを導入します。ng2-bootsrapはbootstrapの機能をディレクティブやコンポーネントとして提供してくれます。angular-cliの開発環境でのng2-bootsrapを導入方法を説明します。
1.Angular-cliの導入
最初にangular-cliを導入します。angular-cliが未導入の場合は以下を参考にして下さい。
Angular2の開発環境を構築(angular-cli)
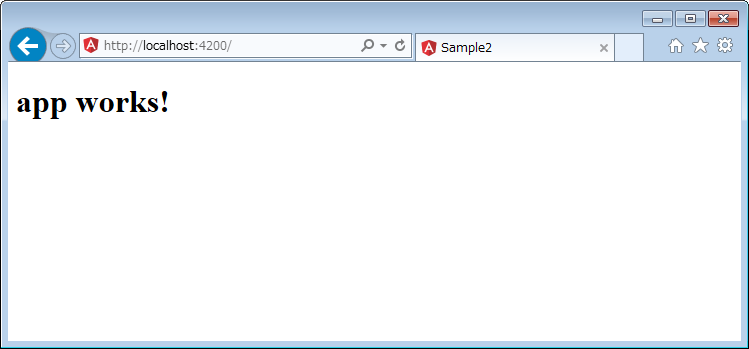
2.Angular2のプロジェクト作成
作業ディレクトリ(当サイトでは「C:\ng2test」)に、サンプルプロジェクトを「sample2」を作成します。プロジェクト作成は以下を参考にして下さい。
|
1 2 3 4 5 6 7 8 9 |
C:¥ng2test>ng new sample2 C:¥ng2test>cd sample2 C:¥ng2test¥sample2> C:¥ng2test¥sample2>ng serve |
3.ng2-bootstrapとbootstrapのインストール
npmでng2-bootstrapとbootstrapのパッケージをローカルインストールします。[--save]オプションを指定して、package.jsonにパッケージ情報を書き込みます。
|
1 2 3 |
C:¥ng2test¥sample2>npm install ng2-bootstrap bootstrap --save |
4.src/app/app.module.tsの編集
src/app/app.module.tsを編集して、ng2-bootstrapのモジュールのインポート定義を行います。AlertModule、ModalModule、ButtonsModule...のように別々のモジュールを個別にインポートしても構いませんが、いろいろ使っていくとインポートするモジュールも多くなって面倒なので、全てを読み込むNg2BootstrapModuleを定義しています。
|
1 2 3 4 5 6 7 8 9 10 11 12 13 14 15 16 17 18 19 20 21 22 23 24 |
import { BrowserModule } from '@angular/platform-browser'; import { NgModule } from '@angular/core'; import { FormsModule } from '@angular/forms'; import { HttpModule } from '@angular/http'; //ng2-bootstrapの定義 import { Ng2BootstrapModule } from 'ng2-bootstrap/ng2-bootstrap'; import { AppComponent } from './app.component'; @NgModule({ declarations: [ AppComponent ], imports: [ BrowserModule, FormsModule, HttpModule, Ng2BootstrapModule.forRoot() //ng2-bootstrapのモジュール ], providers: [], bootstrap: [AppComponent] }) export class AppModule { } |
5.angular-cli.jsonの編集
angular-cli.jsonにbootstrapのcssを追加します。
|
1 2 3 4 |
"styles": [ "../node_modules/bootstrap/dist/css/bootstrap.min.css", "styles.css" ], |
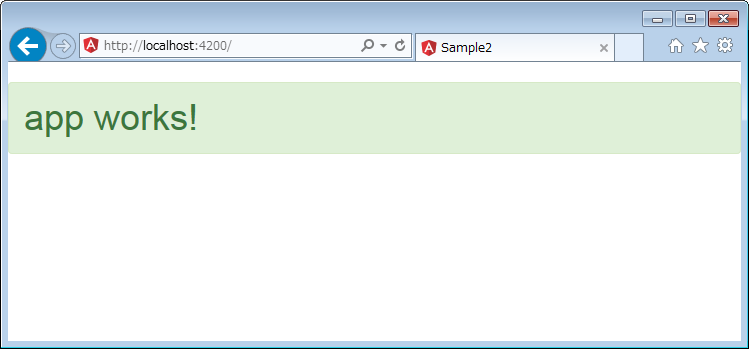
6.動作テスト確認
src/app/app.component.htmlを編集してng2-bootsrapの動作テストを行います。Alertモジュールを使用してアラートメッセージを表示します。
|
1 2 3 |
<h1> <alert type="success">{{title}}</alert> </h1> |


 お問い合わせ